Not to postpone for indefinite time the end of this "spiky" story, I made a quick project by +Potomac Bead Company tutorial to use all the leftover spike beads and to complete the set. I must confess the result is better than has been expected, and the necklace looks delicate and pretty. Besides, it matches very well the pendant and the bracelet.
Намисто "Шипи & компанія"
Щоб не відкладати на невизначений час закінчення цієї "шипастої" історії, я зробила швидкий проєкт за МК від +Potomac Bead Company, щоб використати всі залишки шипів і закінчити набір. Маю зізнатися, що результат кращий, ніж я очікувала, і намисто виглядає делікатним і милим. Крім того, воно дуже добре підходить до кулону та браслету.

To make it, you need this video and the materials. I just followed the instructions and also the designer's advice to bead 15/0 seed beads before and after the spike to mask the thread. It was useful indeed.
I also want to admit that the necklace looks much better when it is worn :-)
Щоб його зробити, потрібні це відео і матеріали. Далі я просто слідувала інструкції, а також пораді дизайнерки додати 15/0 бісер до і після шипа, щоб замаскувати нитку. Це виявилося справді корисним.
Також визнаю, що намисто краще виглядає, якщо його вдягти:-)
After finishing this project it occurred to me that maybe our works are not only the expression of our creative nature but as well the embodiment of our unconscious thoughts... I mean when starting beading (or re-beading) these pair of earrings I just wanted to have some wearable spiky pieces and now I see that I've got two stylised sea stars, haven't I? :-)
And probably they tell about the wish to hear the noise of the sea and to plunge in its warm (or maybe chilly:-)) waves much more than occasional thoughts about the coming summer...
Сережки "Шипи & компанія" (нескінченне оновлення:-))
По закінченні цього проекту мені спало на думку, що можливо наші вироби не лише виражають нашу творчу природу, але також є втіленням наших несвідомих думок... Маю на увазі, що на початку роботи, я просто хотіла отримати пару якихось шипованих сережок, придатних для щоденного носіння, а по закінченні отримала дві стилізованих морських зірки, чи не так? :-)
І можливо вони говорять про бажання послухати гомін моря і зануритися в його теплі (а може і прохолодні:-)) хвилі набагато більше ніж мимовільні думки про літо, що наближається...

I liked the spiky earrings I made few month ago. It was a useful experience to give a try to soutage work but it was obvious I am out of age to wear them in that size. So I had either to make them less or change the design. I chose the latter, of course. So I unpicked the items and started surfing for some pattern. The idea from this video seemed to be suitable but as it often happens except the spikes I had no other needed beads to make the earrings.
Мені подобалися шиповані сережки, які я зробила декілька місяців тому. Це була корисна спроба роботи із сутажем, але було очевидно, що сережки для мого віку завеликі. Отже потрібно було або зменшити їхній розмір, або змінити дизайн. Я, звісно, обрала останнє. Тому я їх розібрала і почала шукати якусь нову модель. Ідея з цього відео здалася те, що треба, але, як це часто буває, крім шипів жодного з необхідних матеріалів у мене не знайшлося.

But we never give up, don't we? I made the earrings from the materials I had and when all the beads fitted each other it became a new design:-)
I started with twins, then added big farfalles, then 4mm pearls, then I got into the process so deep that forgot to make pictures. But I added spikes, and then between the spikes - one 10/0 seed bead, one 4 mm bicone, one 10/0 seed bead. Then around one of the bicones I beaded seven seed beads to make a loop for the hook. The hooks are the same from the unpicked earrings.
Але ж ми не шукаємо легких шляхів, чи не так? Я зробила сережки з тих матеріалів, що у мене були, а коли всі намистини підійшли одна під одну, то у мене вийшов новий дизайн :-)
Почала з кільця твінів, потім додала великі фарфалле, потім 4 мм перлини, а потім так захопилася процесом, що забула зробити фото. Але я додала шипи і останній ряд - одна бісерина 10/0, один 4 мм біконус, одна бісерина 10/0. Навколо одного з біконусів нанизала сім бісерин для петлі. Гачки використала ті самі, навіть із кристалом.
And here they are. They had to remind the sun but remind the sea:-) I guess they suit the pendant and the bracelet much better. Besides, now I have some more spikes left so the updating will continue:-)
Ось такі зірочки вийшли... мали нагадувати сонце, а нагадують море:-) Думаю, вони краще підійдуть до кулону та браслета. До того ж в мене тепер залишилося ще декілька шипів, тому оновлення триватиме:-)
Well, all the company is together now... And ready for the adventures... if, of course, anything like this ever happens to jewelry :-) I like the result I've got if to forget about the term of making the pendant. Three weeks of creative pangs can be justified only either by the author's inexperience or by making a masterpiece (and somebody must earn for living, by the way). So, although modesty is not my distinctive feature, I should confess it is something in the middle:-))
While designing the pendant the aim was to avoid the entire repetition of the earrings' and the bracelet's design. I only wanted to use the same colour style and materials.
Кулон "Шипи & компанія"
Ну ось вся компанія і в зборі... Готові до пригод... якщо, звісно, такі колись трапляються з прикрасами:-) Вийшло непогано, якщо забути про термін виготовлення кулону. Три тижні творчих мук можна виправдати або недосвідченістю автора, або створенням шедевра (та ще треба і на життя заробляти), то хоч скромність не є моєю чеснотою, маю зізнатися, що результат десь по середині :-))
Коли вигадувала цей кулон, моєю метою було уникнути повного повтору дизайну сережок і браслета. Я лише хотіла використати однакові матеріали та дотримуватися заданої кольорової гами.
The process started with beading a cabochon. To choose what I need to do for it with my materials, I decided to string different kinds of beads alternating them with spikes and tried them on the pictures which were considered to be future cabochon's back. Very effective method, I certainly will use it again and again.
Процес розпочався з обплетення кабошону. Щоб вибрати, як я можу це зробити з матеріалів, які маю, вирішила нанизувати різні види намистин по черзі з шипами та приміряти їх на світлини, які могли б стати майбутнім фоном кабошону. Дуже ефективний метод, до речі, тому буду користуватись їм і надалі.
The variant of the spikes alternating with cuts seemed to be the best. So after gluing the cabochon to the piece of a postcard I beaded such first row.
Шипи поєднані з рубкою здалися мені найкращим варіантом, тому після наклеювання кабошону на клаптик листівки, я нанизала такий перший ряд.
At first I beaded the cabochon's back with twins. It was not long and hard because I already had done it for this rivoli. But this time I worked from the longer row and made decreasing of the twins to the centre.
Спочатку обплела задню частину кабошону твінами. Це було нескладно і недовго, тому що я вже це робила для цього ріволі. Але тут роботу розпочала з довшого ряду, а потім до центру твіни убавляла.
Then after some time of the experimenting beaded the front of the cabochon.
Потім, витративши трохи часу на експерименти, обплела лицеву частину.

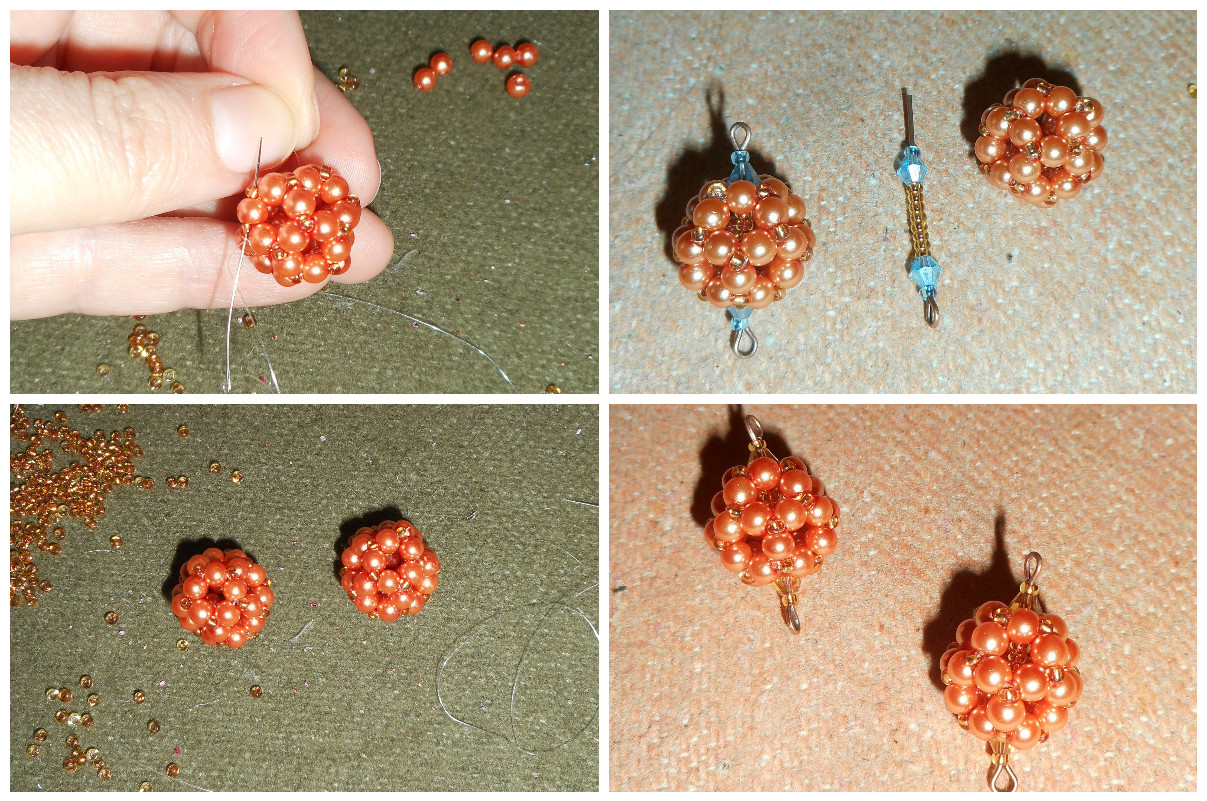
After much more time of thinking and trying what necklace I wanted, the next steps were making the beaded beads. The first one is from 4 mm pearls and 10.0 seed beads. These latter ones are necessary not only to embellish the ready bead but to make it sturdy as well.
When making the element for the necklace as you see at first I used blue 4 mm bicones but in the ready piece they looked not so good so I changed them for topaz colour.
I already used the tutorials for making such bead, for example, in this project.
Після набагато довших спроб і роздумів, яке ж все ж таки я хочу намисто, наступними кроками були виготовлення намистин. Перші - з 4 мм перлів з додаванням бісеру №10. Цей останній необхідний не лише для краси, а і для зміцнення намистини.
На фото видно, що для створення елементу спочатку я використала блакитні 4 мм біконуси, але в готовому виробі вони виглядали недоречно, тому замінила їх на кольору топаза.
МК з виготовлення таких намистин я вже використовувала, наприклад, для цього намиста.

To make a beaded bead from twins I used this tutorial from +Beadaholique. This bead turned out to be very wobbly so it had to be reinforced with seed beads as well. To make the elements the blue bicones matched well here.
Good question is why I so insisted on adding blue colour to the necklace... Just because the ready pendant remind the sun and the sun needs some sky:-)
Щоб зробити намистину з твінів, скористалася цим МК від +Beadaholique. Ця намистина була дуже "живою", тому її теж довелося зміцнювати бісером. Для виготовлення елементу тут блакитні біконуси згодилися краще.
Гарне питання, чому я так наполягала на додаванні блакитного кольору до намиста... просто тому, що кулон формою нагадує сонечко, а сонечку потрібно трохи неба:-)
So the elements are ready and now the rope should be made. I chose the tubular herringbone bead weaving with some inclusions... after much experimenting... yes... chose twins for that. Such alternating made a slight spiral effect and the rope reminded some tree branch with buds (my mum said, the branch is old and dry and my opinion is it is awaiting the sun shine to start blossoming).
Отже елементи готові і настав час сплести якусь основу. Я обрала техніку "ндебеле" з включенням додаткових намистин... після декількох експериментів... так... додавати вирішила твіни. Таке чергування створило дуже легкий ефект спіралі, а готовий джгут нагадав мені гілочку дерева з бруньками (мама сказала, що гілочка стара і суха, а на мою думку, вона просто чекає на сонячне світло, щоб почати розпускатися).
And the final step is connecting all the elements and waiting for the occasion to wear the necklace:-)
Останній крок - з'єднання всіх елементів у намисто... І чекання на момент, коли його можна буде вдягнути:-)
I am still inspired by spikes and not by their associations but by the beads themselves. A couple of weeks ago, when posting the earrings, I already suggested that my subconsciousness is the only one that could explain the idea of the attraction but who cares, actually... It is one of those occasions again when the result is the only matter. Thus, to talk about the unknown makes no sense but obviously, the visible ideas can be the subject here. And this time this subject is a bracelet :-)
Браслет "Шипи & компанія"
Шипи все ще надихають мене і при тому не їхні асоціації, а самі намистини. Пару тижнів тому, коли описувала сережки, я вже припускала, що лише моя підсвідомість може пояснити причину їхньої привабливості, але кому до того діло насправді... Це знову один з тих випадків, коли результат тільки і має значення. Отож, говорити про невідоме жодного сенсу немає, але вочевидь видимі ідеї тут можуть стати предметом обговорення. І цього разу такий предмет - це браслет :-)
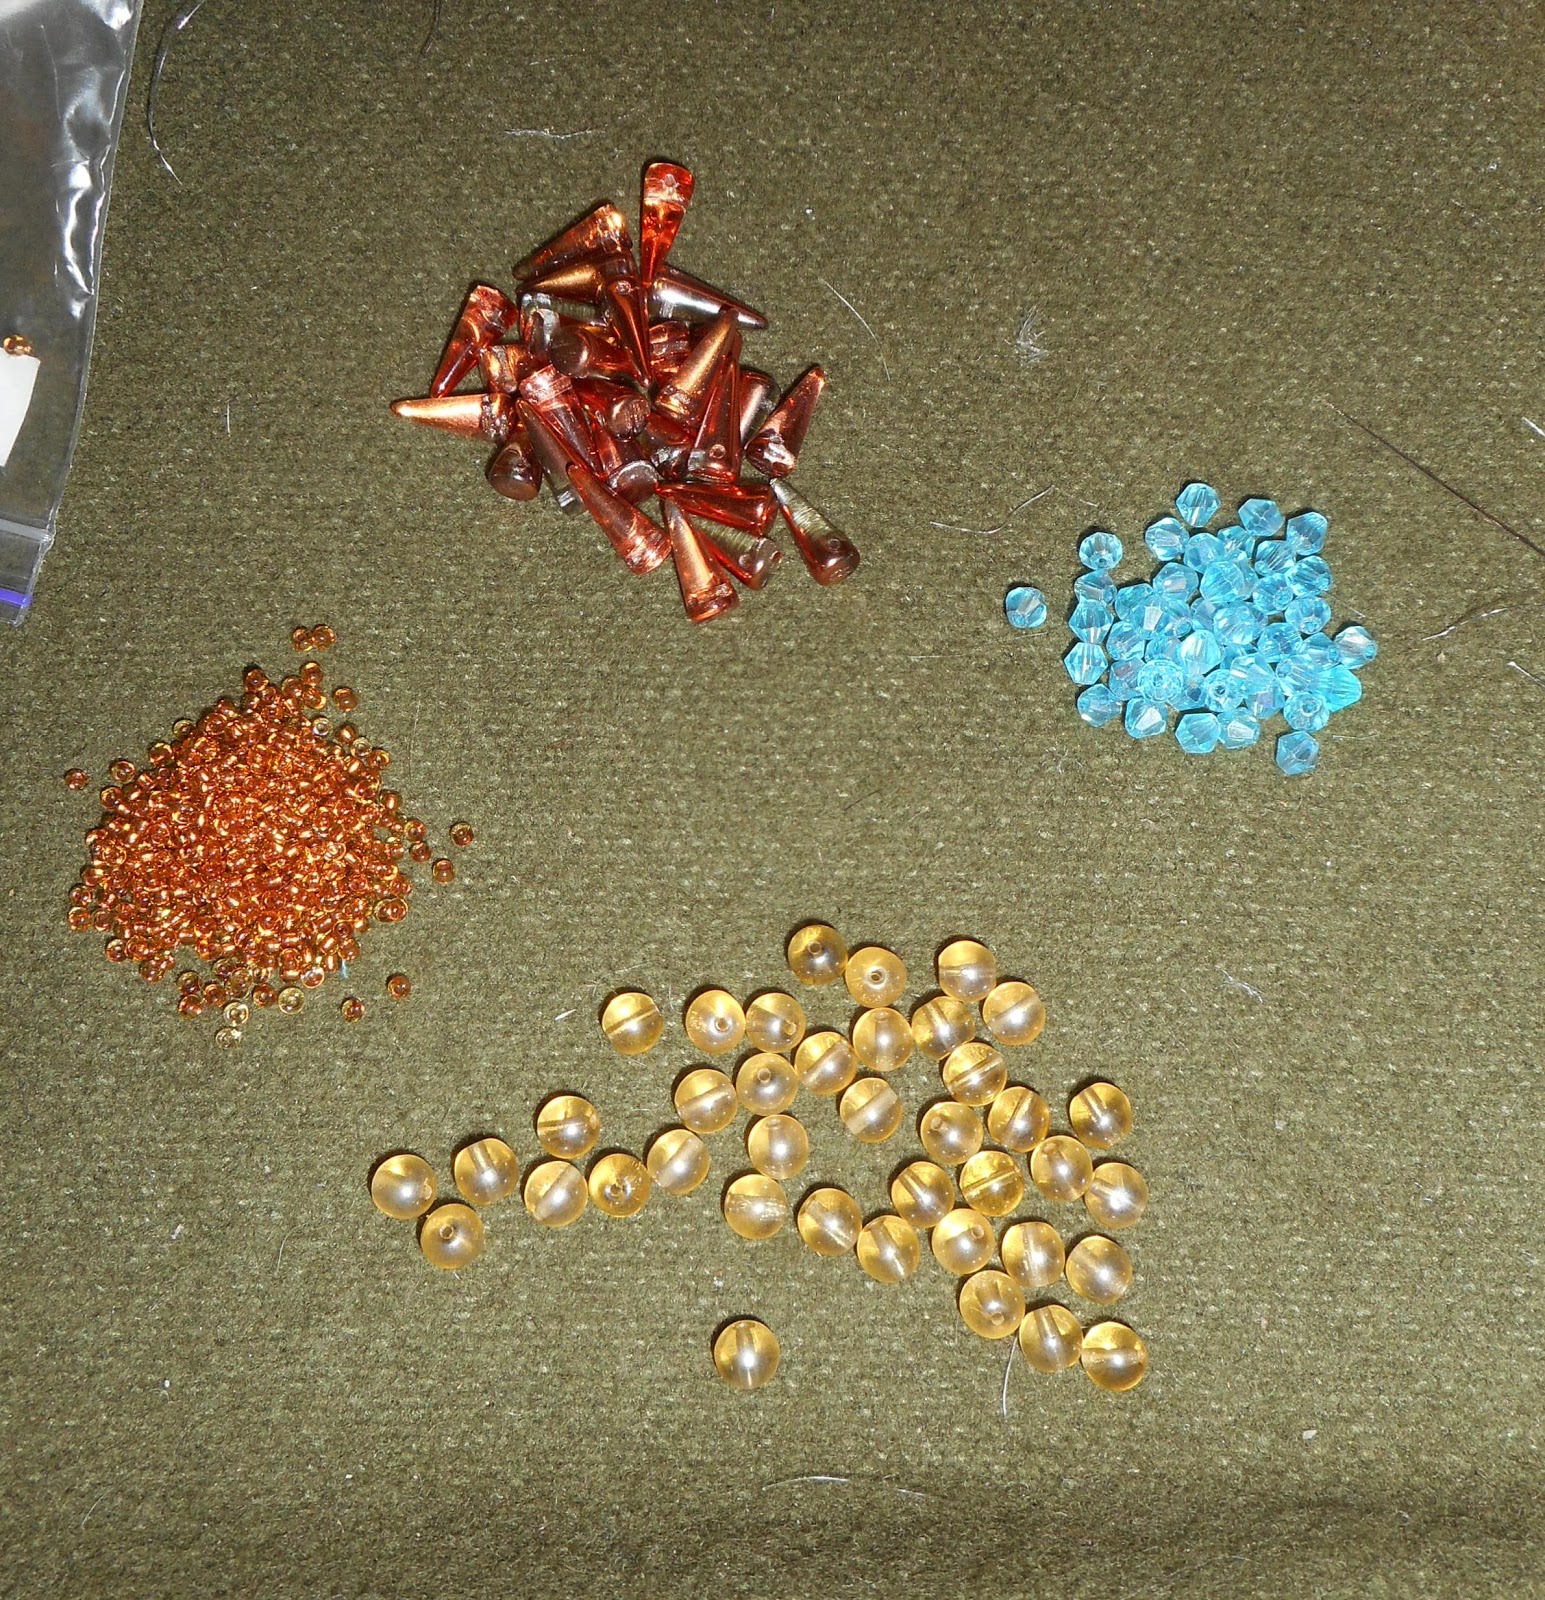
To make the bracelet, I used the tutorial from +Potomac Bead Company. I tried to match about the same materials. But the colour style is different, of course.
Щоб зробити браслет, скористалася майстер-класом від +Potomac Bead Company . Намагалася підібрати майже такі самі матеріали. Але кольорова гама, звісно, інша.
I followed the instructions almost entirely. But I'd like to admit that it better to make the bracelet not very loose. Spikes, especially if there are many of them, seem to be able to overturn the bracelet. So it is better to keep it right on the wrist.
Я майже цілком дотримувалася інструкцій. Але хотілося б відзначити, що бажано не робити браслет надто вільним. Шипи, особливо якщо їх багато, здається, здатні той браслет перегорнути. Тому краще, щоб він був якраз по зап'ястку.
My only change - the clasp. First, I made the bracelet itself. And then joined a new thread, beaded 6 seed beads around the end 6 mm glass beads. Then just added jump rings and a lobster claw clasp.
The most interesting part is how I am going to fasten it myself when putting it on... although after a few minutes of trying I managed to do at last... and with the left hand only...
Моя єдина зміна - застібка. Спочатку зробила браслет. І лише потім приєднала нову нитку, нанизала по 6 бісерин на кінцеву скляну намистину, потім просто додала кільця і застібку.
Найцікавіше, як я збираюсь самостійно застібати браслет, коли вдягатиму... Хоча після декількох хвилин спроб мені такі зрештою вдалося зробити... але чомусь лише лівою рукою...